How to do gooder with home composting How to do gooder with home composting

How to do gooder with home composting

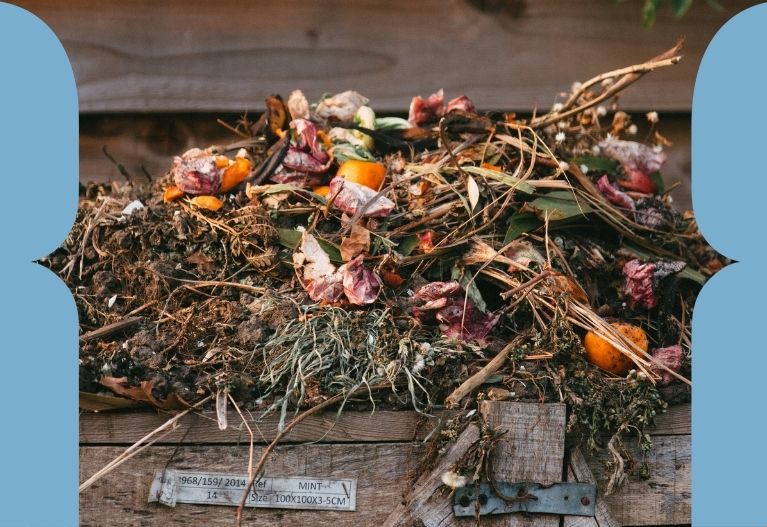
Even if, like us, you try to salvage every bit of food, some peels, pips and skins can’t be helped. But surely this produce can have a better fate than landfill? Enter, home composting.

5 minutes read

While binning a stale crust or peel into landfill might feel like no biggie, this is one of those little things we often overlook which can really make a difference. What’s the damage of throwing food waste into landfill? We’ll say it quickly so it’s less painful. When you chuck food in the bin, the oxygen-free environment means food rots and emits methane, a highly potent greenhouse gas which drives climate change. Phew, we’re glad that’s over.

Luckily, it’s really easy to significantly decrease the emissions by composting your leftovers in a food waste disposal bin, or even gooder, by recycling in your home composting. In fact, research suggests if composting levels increased worldwide, we could reduce emissions by 2.1 billion tonnes by 2050. Inspired? Read on.

WHY COMPOST YOUR FOOD WASTE?

Composting is low-hanging fruit of cutting your carbon emissions, but it’s also an easy way to be resourceful with you waste whilst giving your garden a glow up.

In a nutshell, composting gives your soil a hit of vits, improves water retention (which also reduces water waste!), and means you can do without chemical fertilisers. Best part is, whether you’re nurturing an urban jungle or you’re into your outdoor spaces, compost is a must.

SHOULD I COMPOST INDOORS OR OUTDOORS?

We’ll admit, decomposing food doesn’t look THAT glamorous, so it’s more common to compost using a closed bin outside. But (and stay with us on this) it can be done inside easily inside and it’s a great way to replenish your houseplants while reducing your waste. The steps are the same as outdoors – but keep the below in mind:

  • Collect the water in a tray: Put a tray under your bin to catch any liquids. Pro tip: use this excess to water your plants, it’s full of extra nutrients!
  • Size: Pick a size which suits your surroundings – any sturdy, closable container will do! Something which slots neatly in a cupboard will work well.
  • Start with the soil: Add a layer of peat-free soil to get you started! Fill the container with around ¼ of soil to begin with, add a sprinkle more each week to encourage break down.
  • Brown material at the ready: Have recycled brown materials to hand and add to your bin every time you add food waste to ensure you have equal proportions.
  • Add some extras: Stir and add extra soil once a week

HOW TO HOME COMPOST

1. Pick your composter: Pick a container that works for the amount of food waste you produce, around 1 meter in height is popular to start with. Here are a few of the best rated compost bins made of wood or recycled materials (thanks, Gardeners World). Or, if you have a bin handy, upcycle it to make your own, use any sturdy container 0.5-1.5 meters tall, drill holes in the bottom and the lid (~10-15 holes in each section).

2. Get your drainage going: Layer 1/5 of your bin with twigs, leaves, straw or wood chippings– this provides drainage and helps with aeration.

3. Get the ratio right: Organic matter can be loosely split into ‘brown’ and ‘green’ materials, which you want equal amounts of. If you’ve got your science hat on, browns are high carbon dried plant materials which decompose slowly, like leaves and shredded paper, while high nitrogen greens, like veg peelings, break down quickly and moisten the soil. Add your brown and green materials in layers (we’ve listed examples of green and brown items below), try to keep these in equal proportions if you can. Give it all a good old mix up.

4. Get watering: Spray with water until damp, but no soaking! A well wrung sponge is the ideal water consistency.

5. Add regularly: When you add new materials, mix them in rather than layering on the top to encourage break down.

6. Mix every few weeks: Give the compost a good turn with your shovel to aerate the pile and sprinkle with water if it’s a little dry. Oxygen fuels the work, so give your compost heaps of love by mixing up your bin.

7. Replenish your plants: You should have soil in 2-3 months! This can be used as potting mulch, or anywhere in your garden as an environmentally friendly alternative to peat soil. What’s the problem with peat? We’re glad you asked! A LOT, read why it’s great you’re converted to composting here.

GREEN MATERIALS TO COMPOST

Greens are moist, high nitrogen materials which decompose quickly, including:

  • Fruit and veg peelings
  • Organic cut flowers
  • Fresh grass clippings
  • Coffee grounds
  • Tea grounds
  • Eggshells

BROWN MATERIALS TO COMPOST

Browns are plant-based material which degrade slowly, including:

  • Straw
  • Dry leaves
  • Twigs
  • Sawdust
  • Wood filings
  • Pine needles
  • Shredded paper and cardboard (NB: make sure there’s no sneaky tape or plastics attached)

WHAT CAN’T I COMPOST?

  • Meat, dairy or any animal products
  • Fats and oils
  • Charcoal or ashes
  • Pet waste
  • Plants which have been treated with insecticides e.g., supermarket flowers
  • Treated wood e.g., varnished
  • Baked goods e.g., bread or cakes